The challenges finding a macro lens for Sony A6000

In the words of this person I sent a message to about their lens:
“It’s an absolute minefield!”
Overview
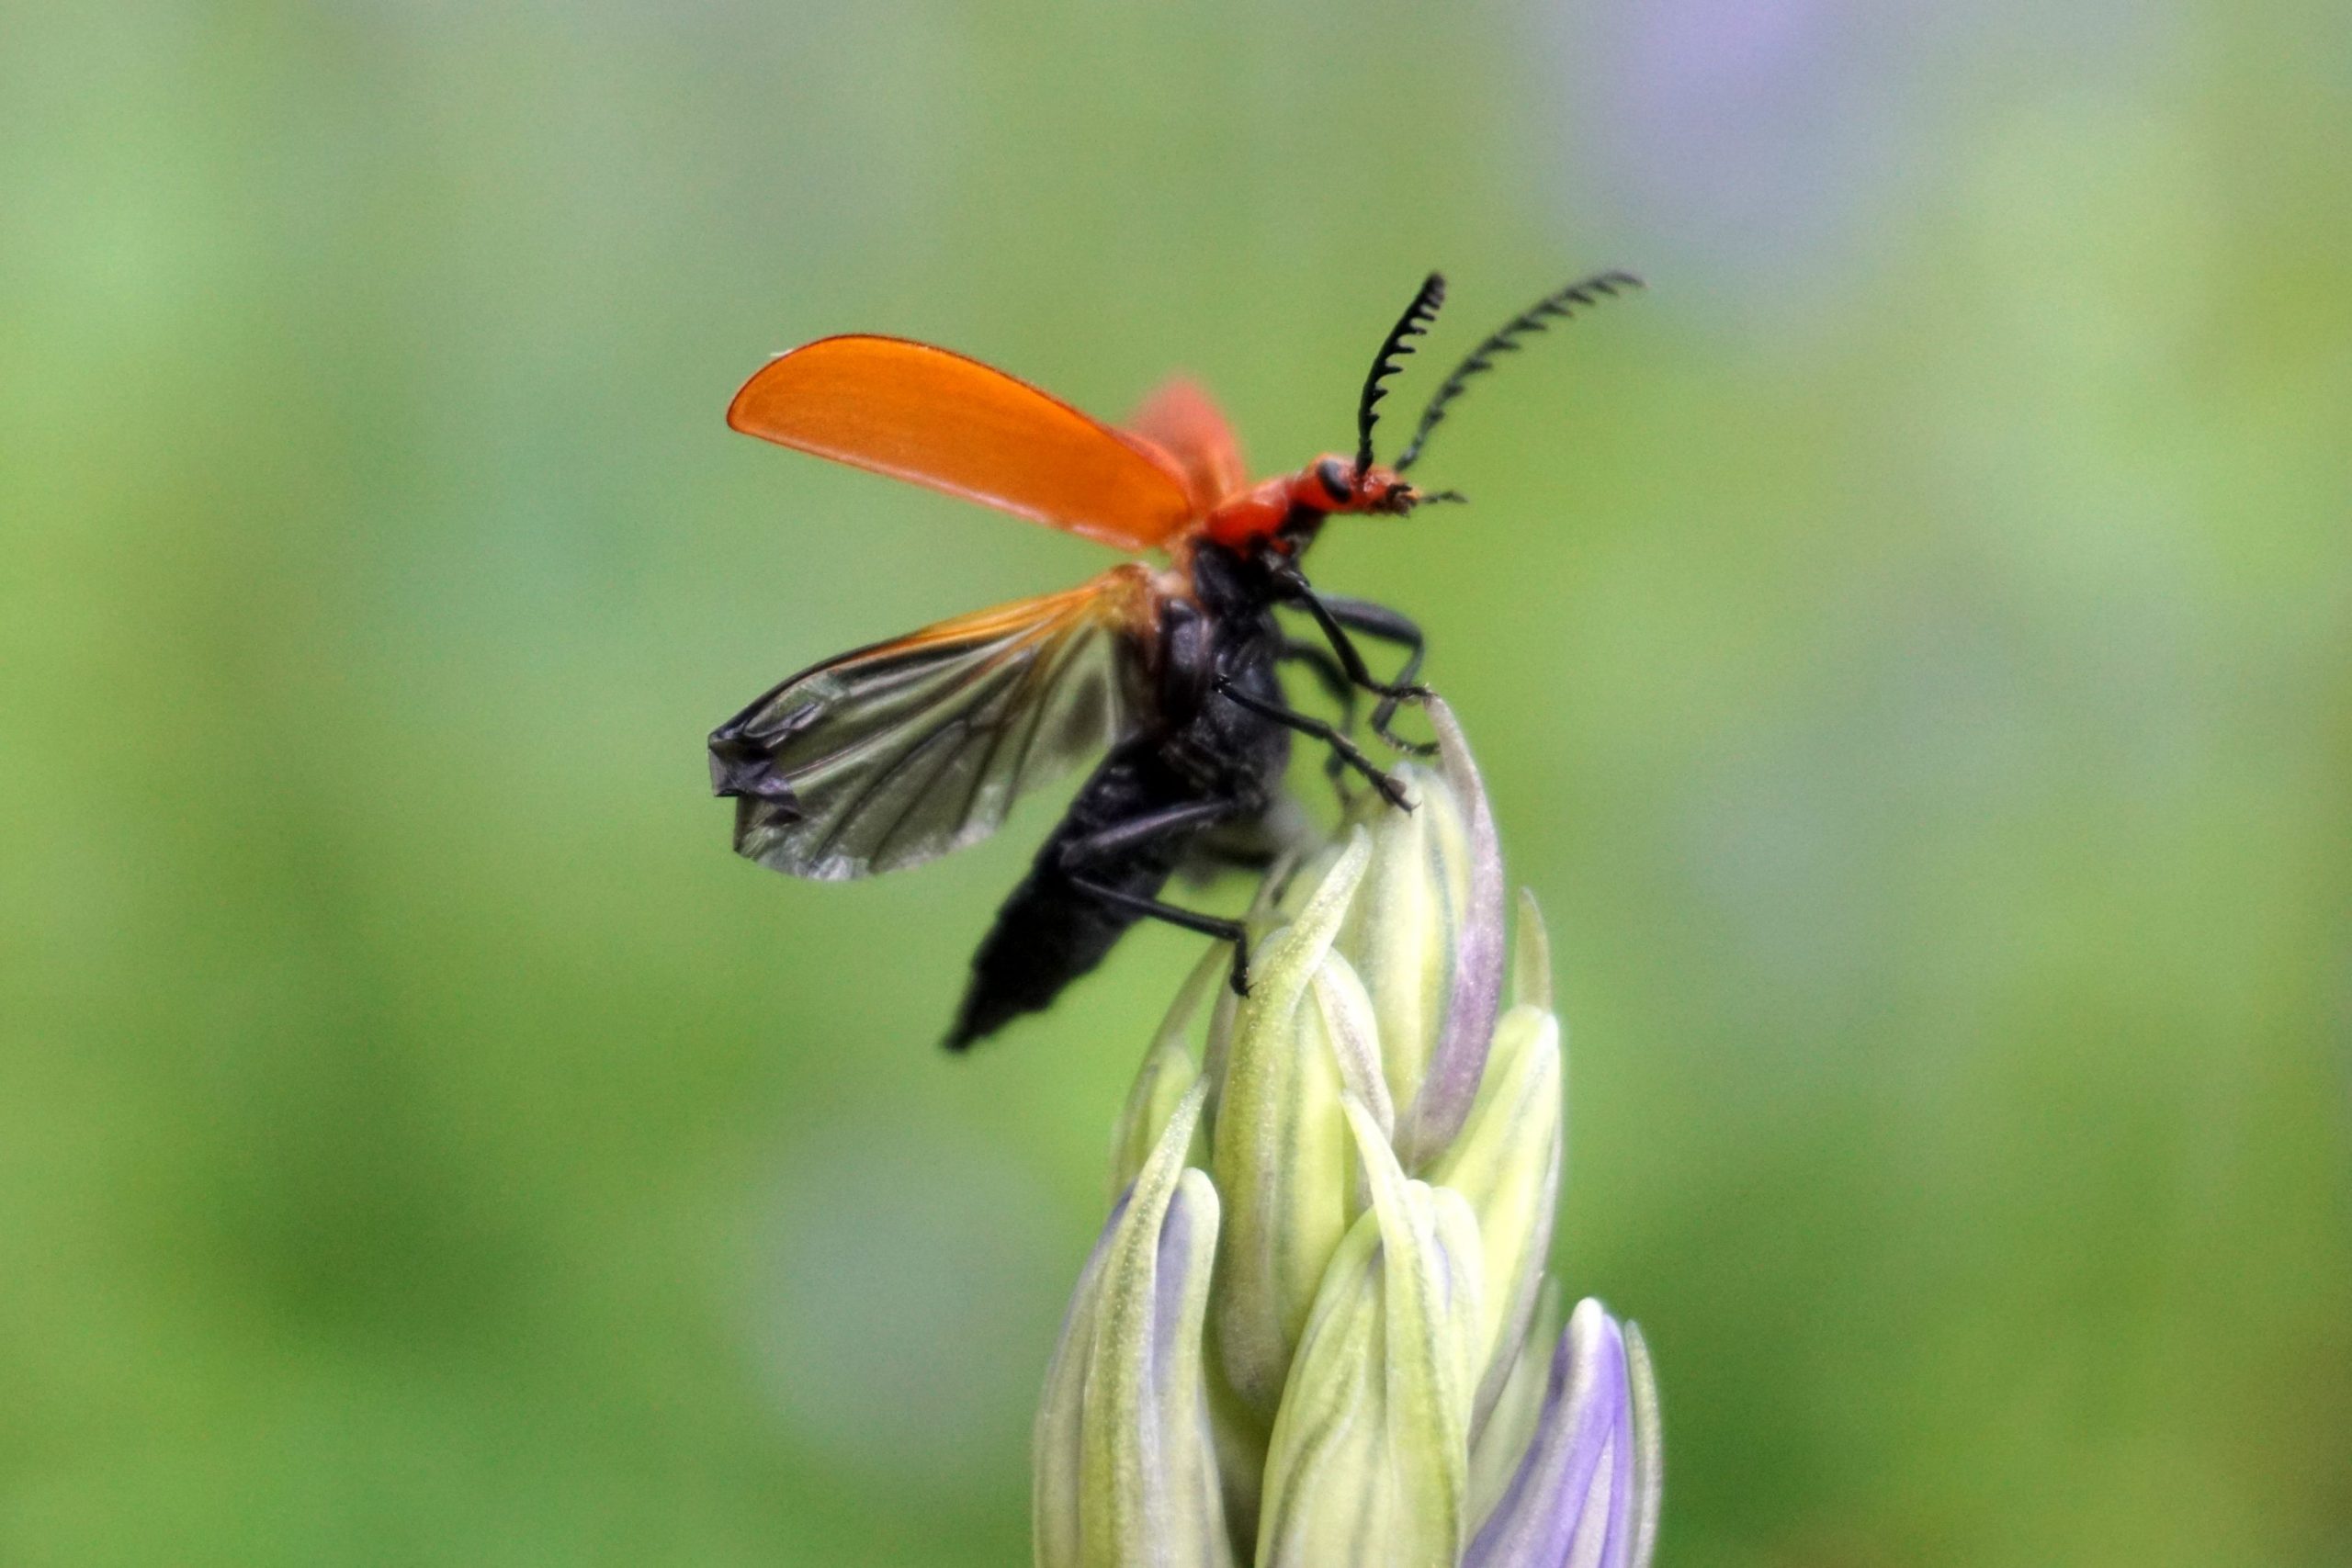
When summer began here in Warwick I started to notice so many more insects about. Maybe because it was summer, but also because I installed an app called iNaturalist that can identify anything which led to trying to identify everything. I’ve always been interested in macro photography but since upgrading to the Sony A6000 I haven’t had a ‘do it all camera’ that has enough zoom for insect closeups.
I decided it was time to get a macro lens for my A6000. And in doing so found an incredibly complicated wealth of information but with no clear recommendations within each budget range. I wanted to share with you what I found and decided on.
My first port of call in these situations are online forums, so a quick google search on the topic posts revealed a lot of the options available to me. I also found searching ‘A6000 macro’ and looking at Google Images quite useful as many people tell you the lens in the description. The options I identified are:
1. Extension tubes, macro adapters and diopters
-
- Neewer Metal AF Auto-focus 10mm and 15mm
- Raynox DCR 150
3. Sony macro lenses
-
- SEL30M35
- SEL50F18
- SEL90M28G
4. Other brand macro or prime lenses + lens adapter for A6000, such as:
-
- Sigma 70mm f/2.8 Art DG Macro or Sigma 50mm f/2.8
- Canon FD 70-200mm or Canon FD 50mm f3.5
- Tamron 90mm f2.8
Decide what you need
Before I get to the options, I think you should ask yourself what you want a macro lens for. Run through my top three questions and hopefully it will help you decide which to go for.
First up, how much are you willing to spend?
Depending on what you have already this could be anywhere between £20 to £200 to £800+. How much you spend depends on this next question…
What kind of macro photography do you want to do?
For the insect enthusiasts it may be just to get a clear, good quality photo that is good enough to identify the insect when you get home or upload to an id app. Or you may want to start super macro photography where you can see each hair on a bees head. The closer you want the more expensive it tends to be.
Third question, where do you want to use it?
I think this is an important one, as if you plan to take your camera on 1-2 hour bug spotting trips into the woods then you can carry a lot more and a bigger lens. If you want macro capabilities on a hiking holiday then you probably want a lot more compact lightweight solution.
What I went for
One of the most infuriating things I found browsing photography forums was that people ask for advice and then don’t come back to say whether it was good or not! There are 5+ different replies, each with different suggestions and sometimes conflicting suggestions and the original poster never bothers to say what they went with and how it worked out for them.
In the end I threw up my hands in despair and decided to go with the cheap and cheerful Neewer extension tubes which I found for £3.60 on ebay.
So thank you for reading, I hope it was useful… Nope, I’m not going to do that. Below are a few photos using the tubes and how I found using them.
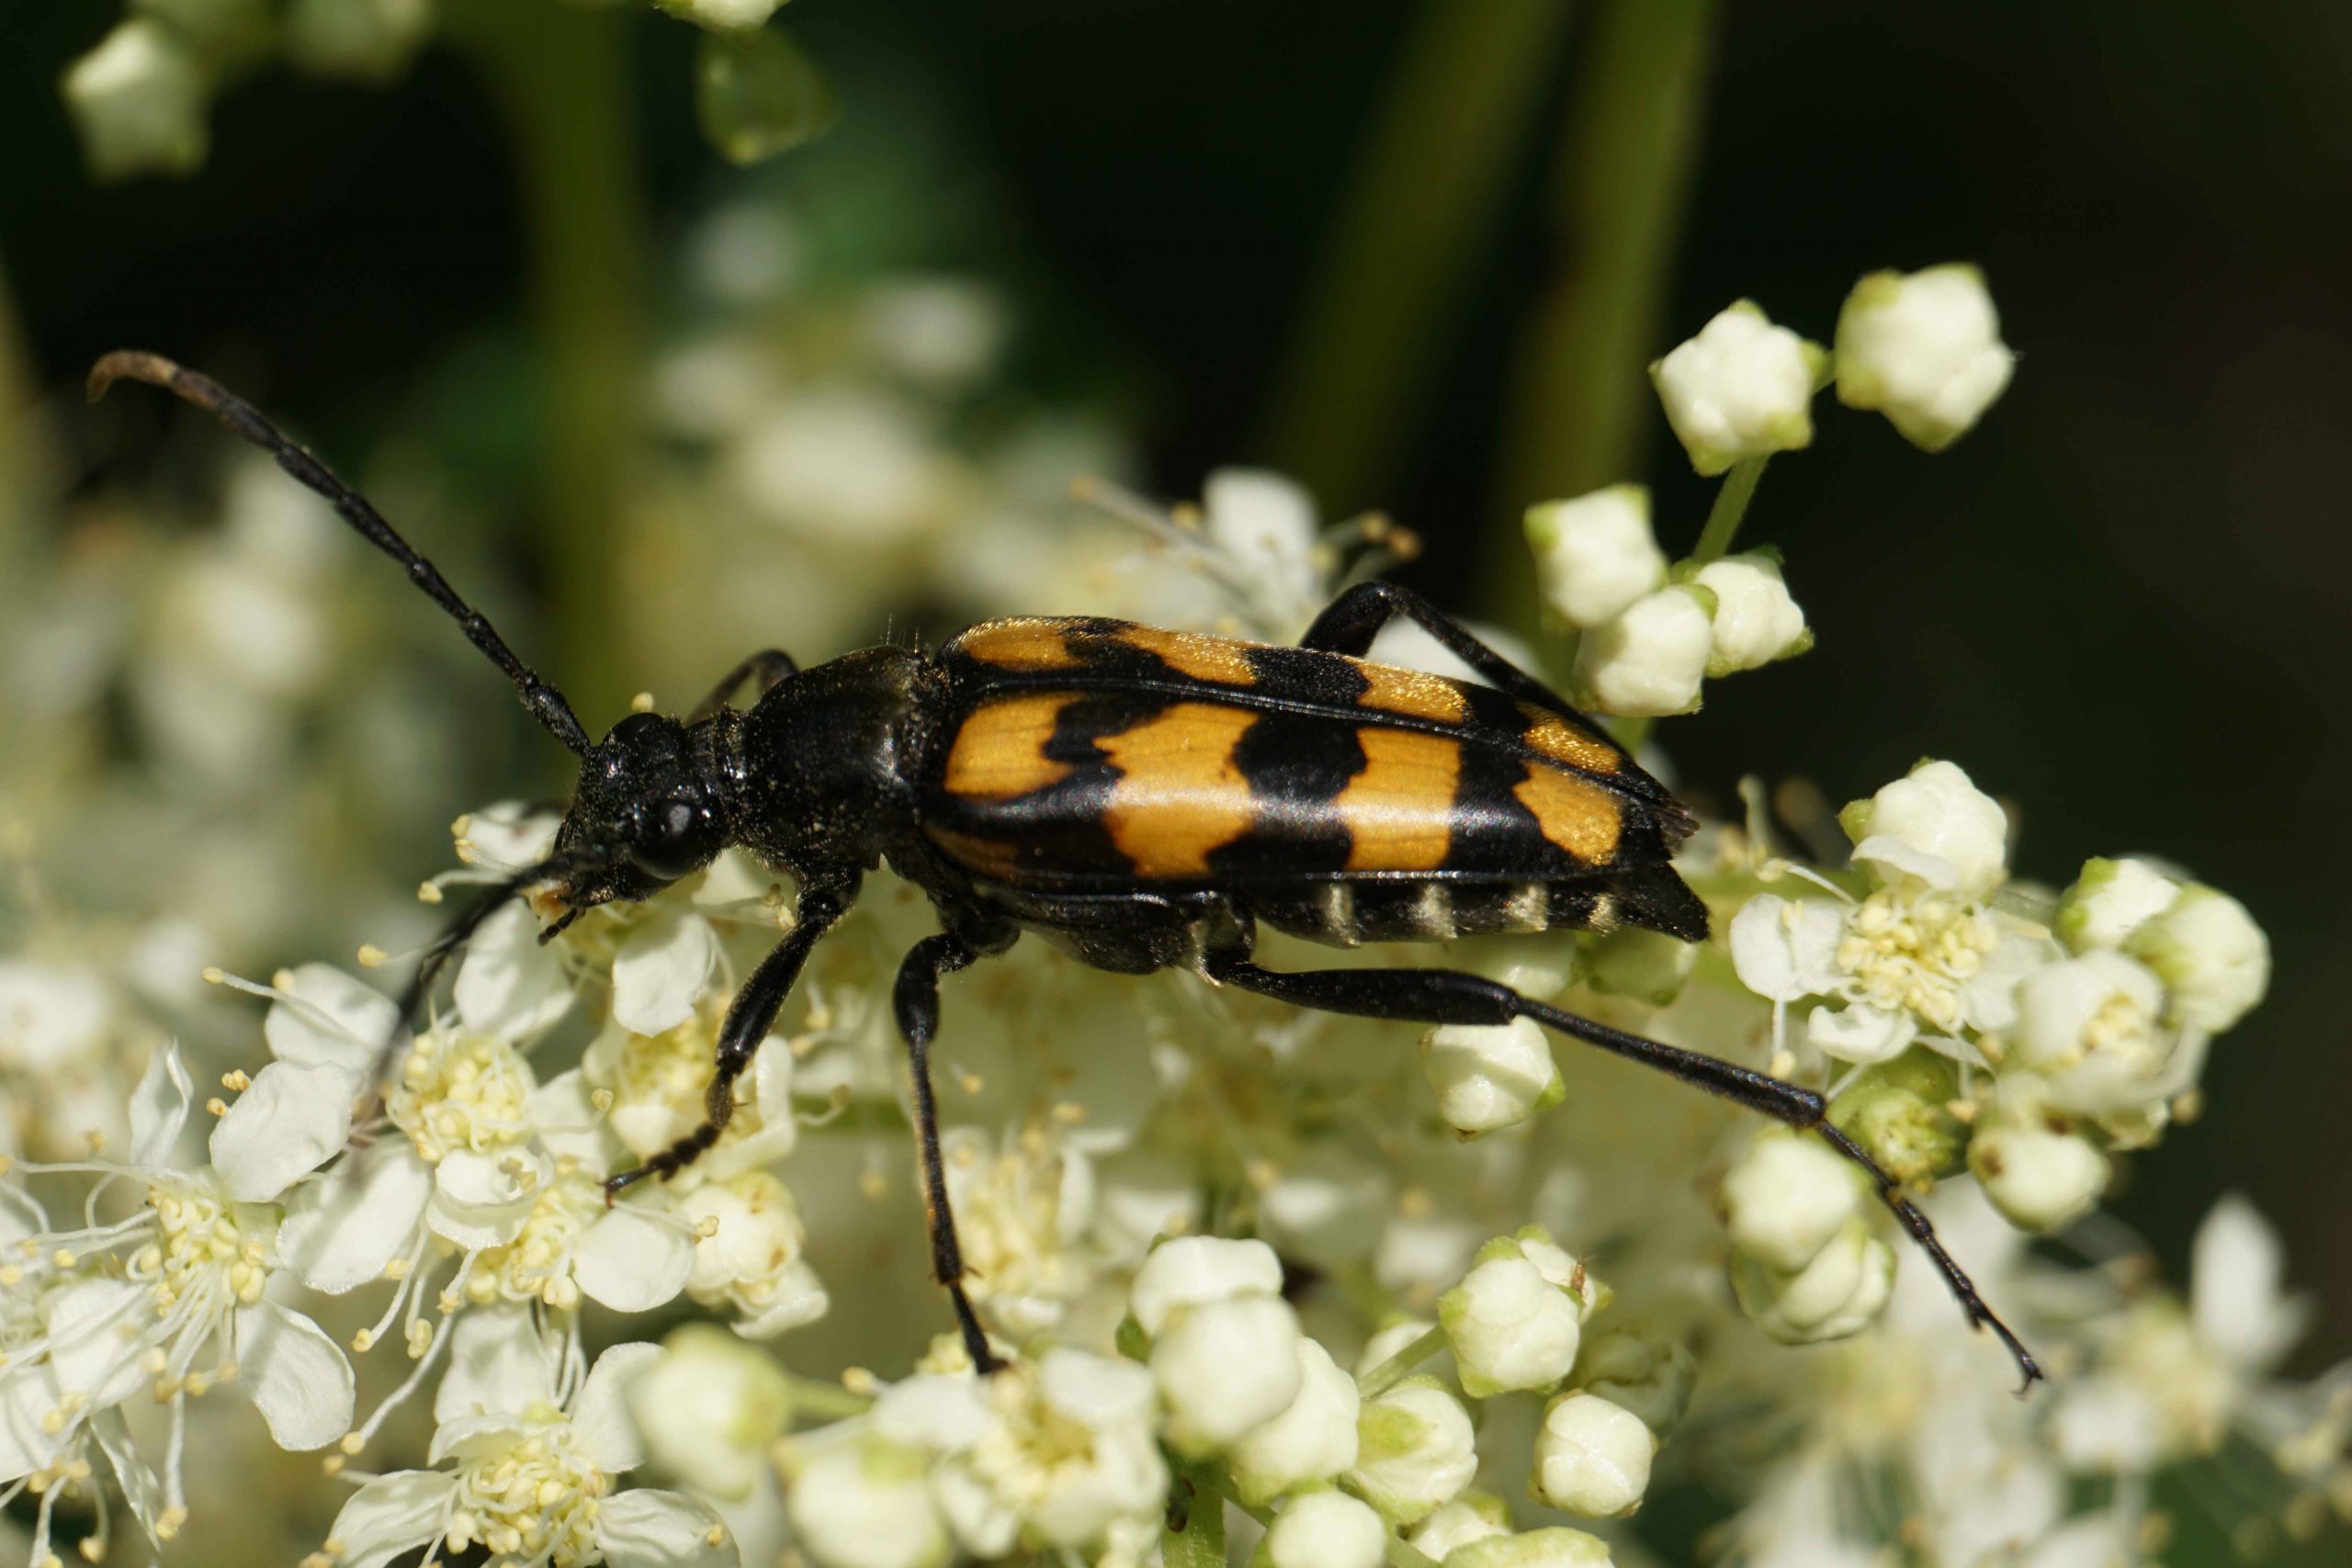
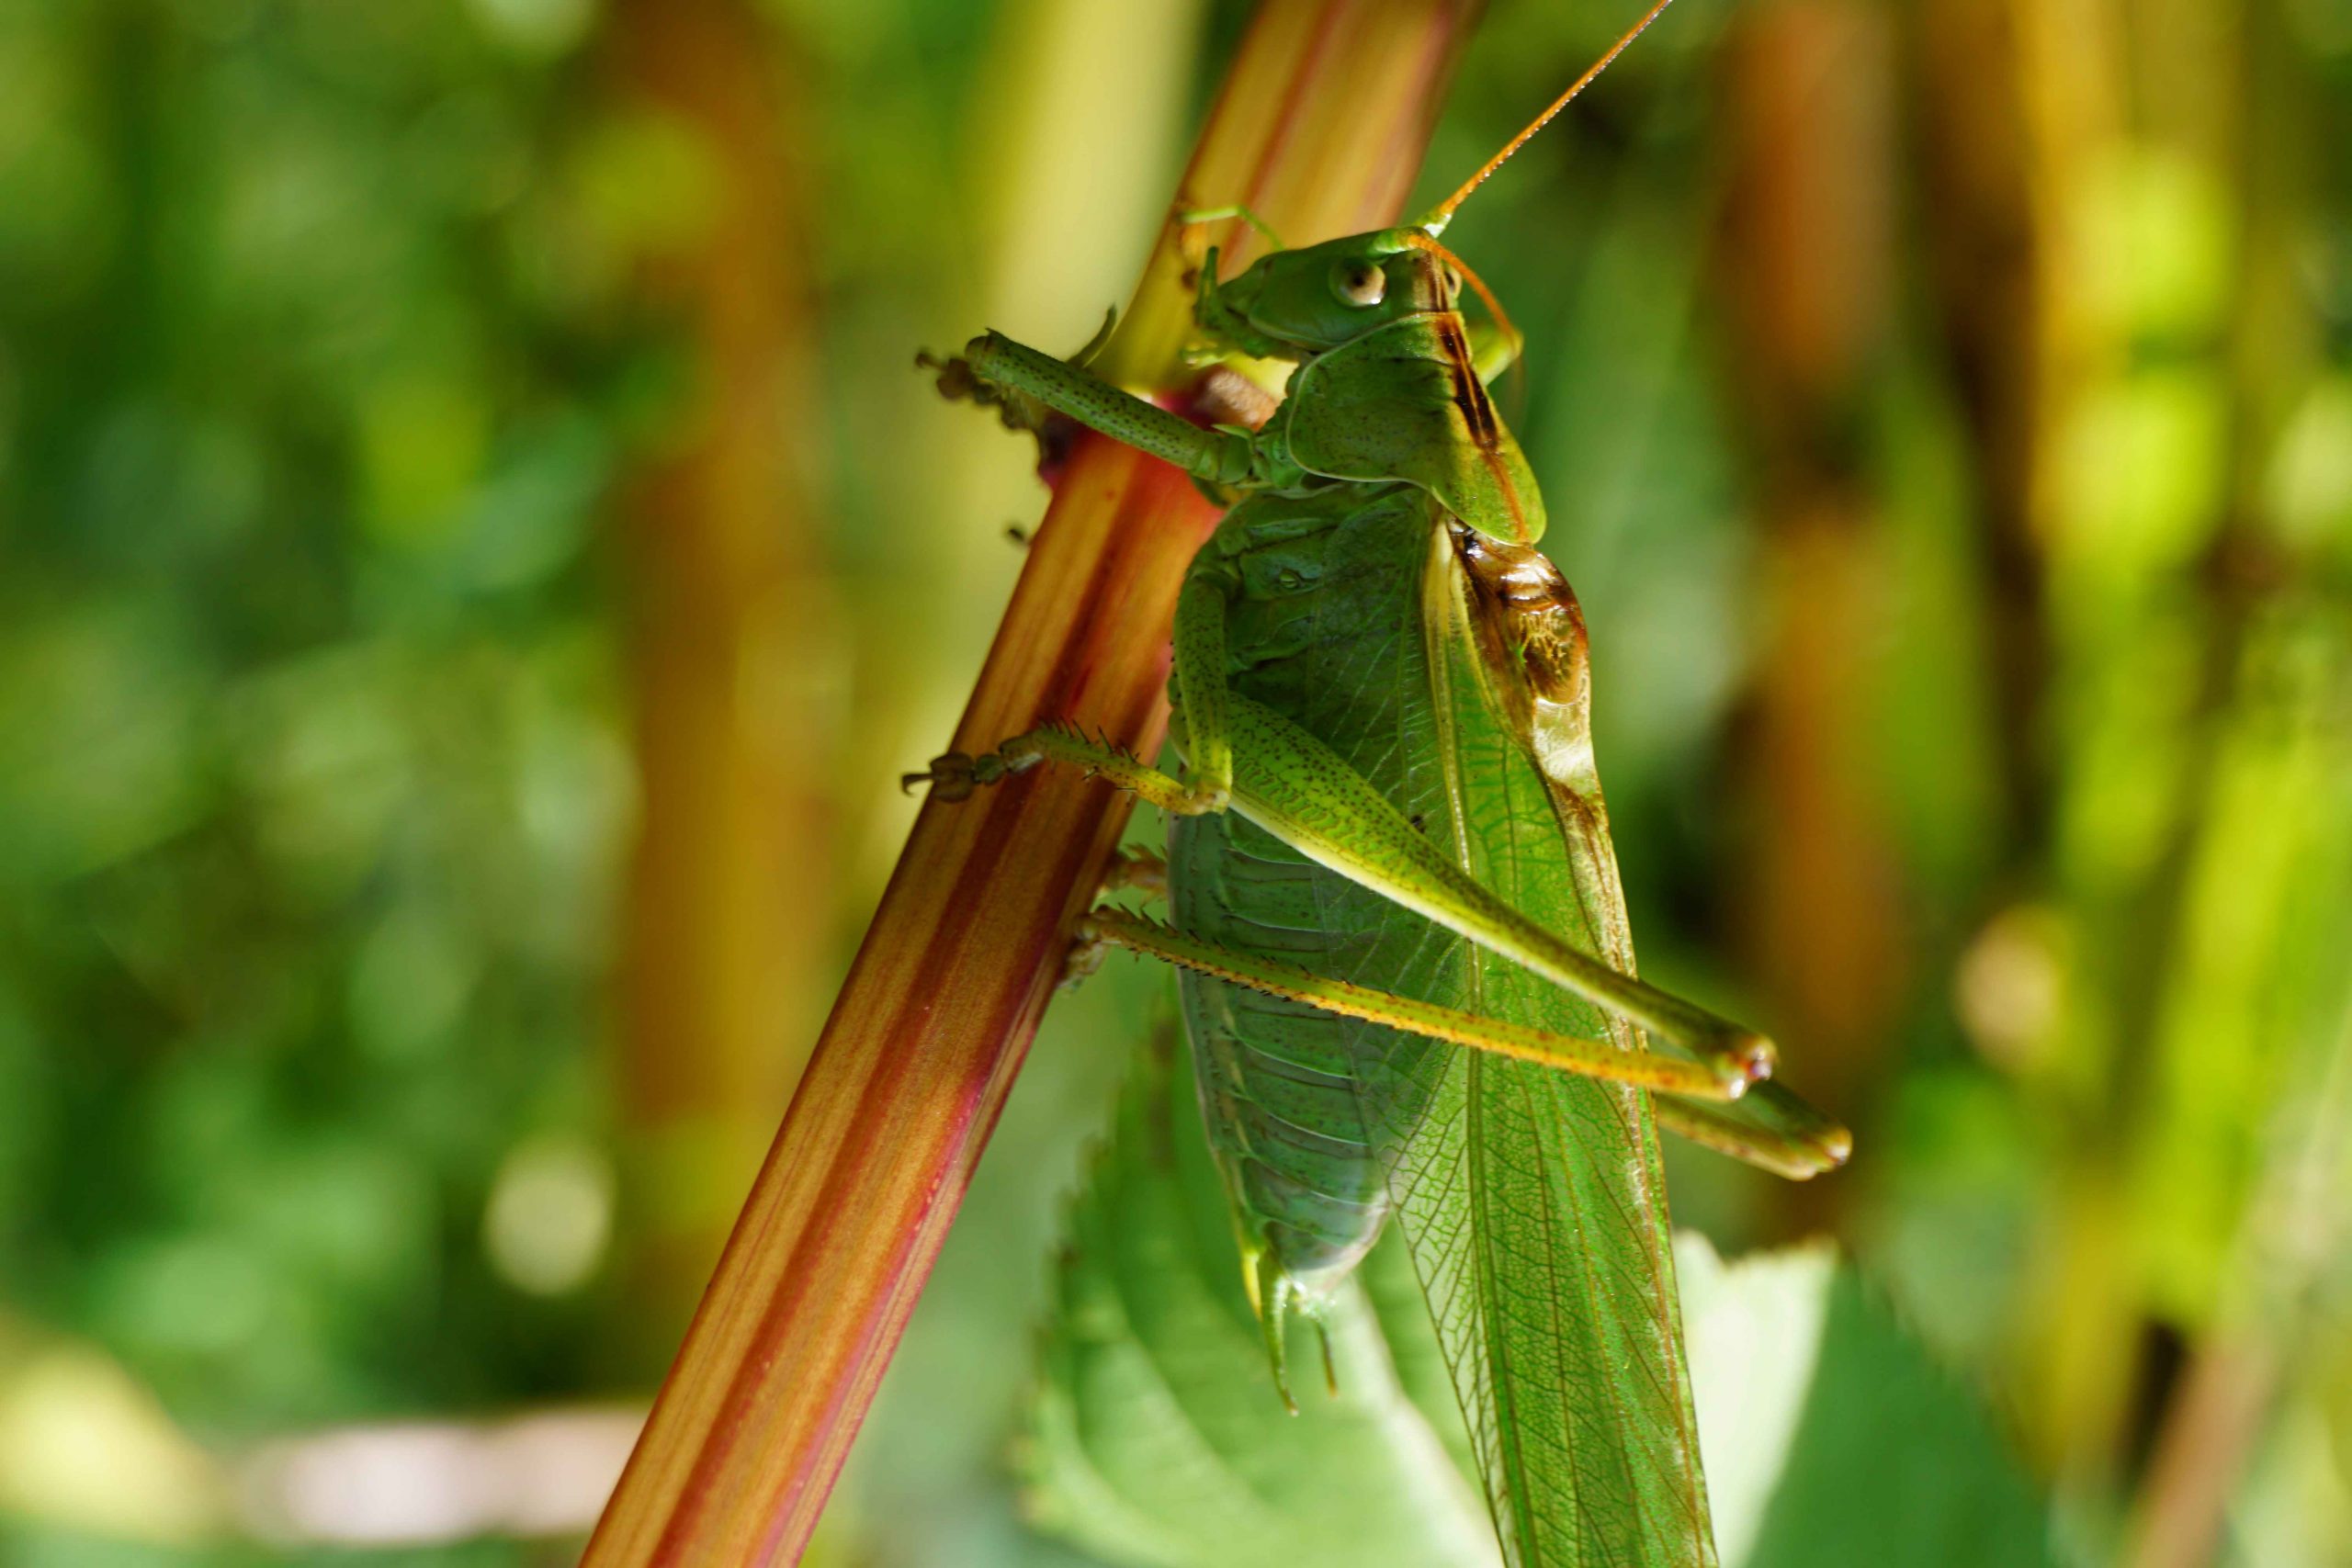
The setup: A6000 + kit lens (16-50mm) + Neewer extension tubes
Overall, I found the extension tubes difficult to use at first but once I practiced and became familiar with its limitations it was a lot better.
- Putting the extension tubes on is always a bit risky as it exposes the camera sensor to dust in the air. This will always be a problem when changing lens though so the best solution is to be careful.
- Once on, the camera only focuses on small objects. This means that it is great for small bugs/bees/etc but pretty useless for getting a whole butterfly in the frame.
- The next one was focusing the lens on the right part of the subject, I found the auto focus tends to focus on the bit closest to the camera which is normally a leg or wing. This means that the rest of the body is out of focus. I started using the Direct Manual Focus (DMF) setting which lets the camera autofocus and then can be manually adjusted.
- The weight is fantastic, at only 68g total for both I could take both or either one backpacking in the mountains without feeling it was too heavy.
Next steps
I still want to spend a bit more and get a dedicated macro lens. I haven’t decided between a Sony lens or one of the legacy lens with an adapter. The decision comes down to whether I want the help from autofocus or go through the learning curve of full manual focus.
Here is the shortlist I came up with when looking at legacy prime lenses and the best pages I found for understanding what each lens is potentially capable of.
- Sigma 70mm f/2.8 Art DG Macro
- Sigma 50mm f/2.8 – amateurphotographer.co.uk – best macro lens for A6000
- Cosina 100mm f3.5 –amateurphotographer.co.uk – best macro lens for A6000
- Elicar 90mm f2.5 VHQ – amateurphotographer.co.uk -best macro lens for A6000
- Minolta MD 50mm f3.5 – DPreview – Minolta
- Canon FD 70-200mm – DPreview – Canon 70-200mm
- Canon FD 50mm f3.5
- Tamron 90mm f2.8
- Nikkor 55mm f3.5 micro ai
General info – DPreview, fibrestrobe
25/02/2021 update
With Covid19 still around and a summer holiday at home looking more likely, I decided it was time to once again delve into the land of macro lenses. My findings this time were similar to in 2019, however I also stumbled across a relatively new entry on the market… The 7Artisans 60mm F2.8. As far as I can tell, it doesn’t get much more cheap and cheerful than this £155 Chinese made lens. It’s full manual, however I decided to take the plunge and buy it – I’ll give it a go over the next few months and report back here with what I find.